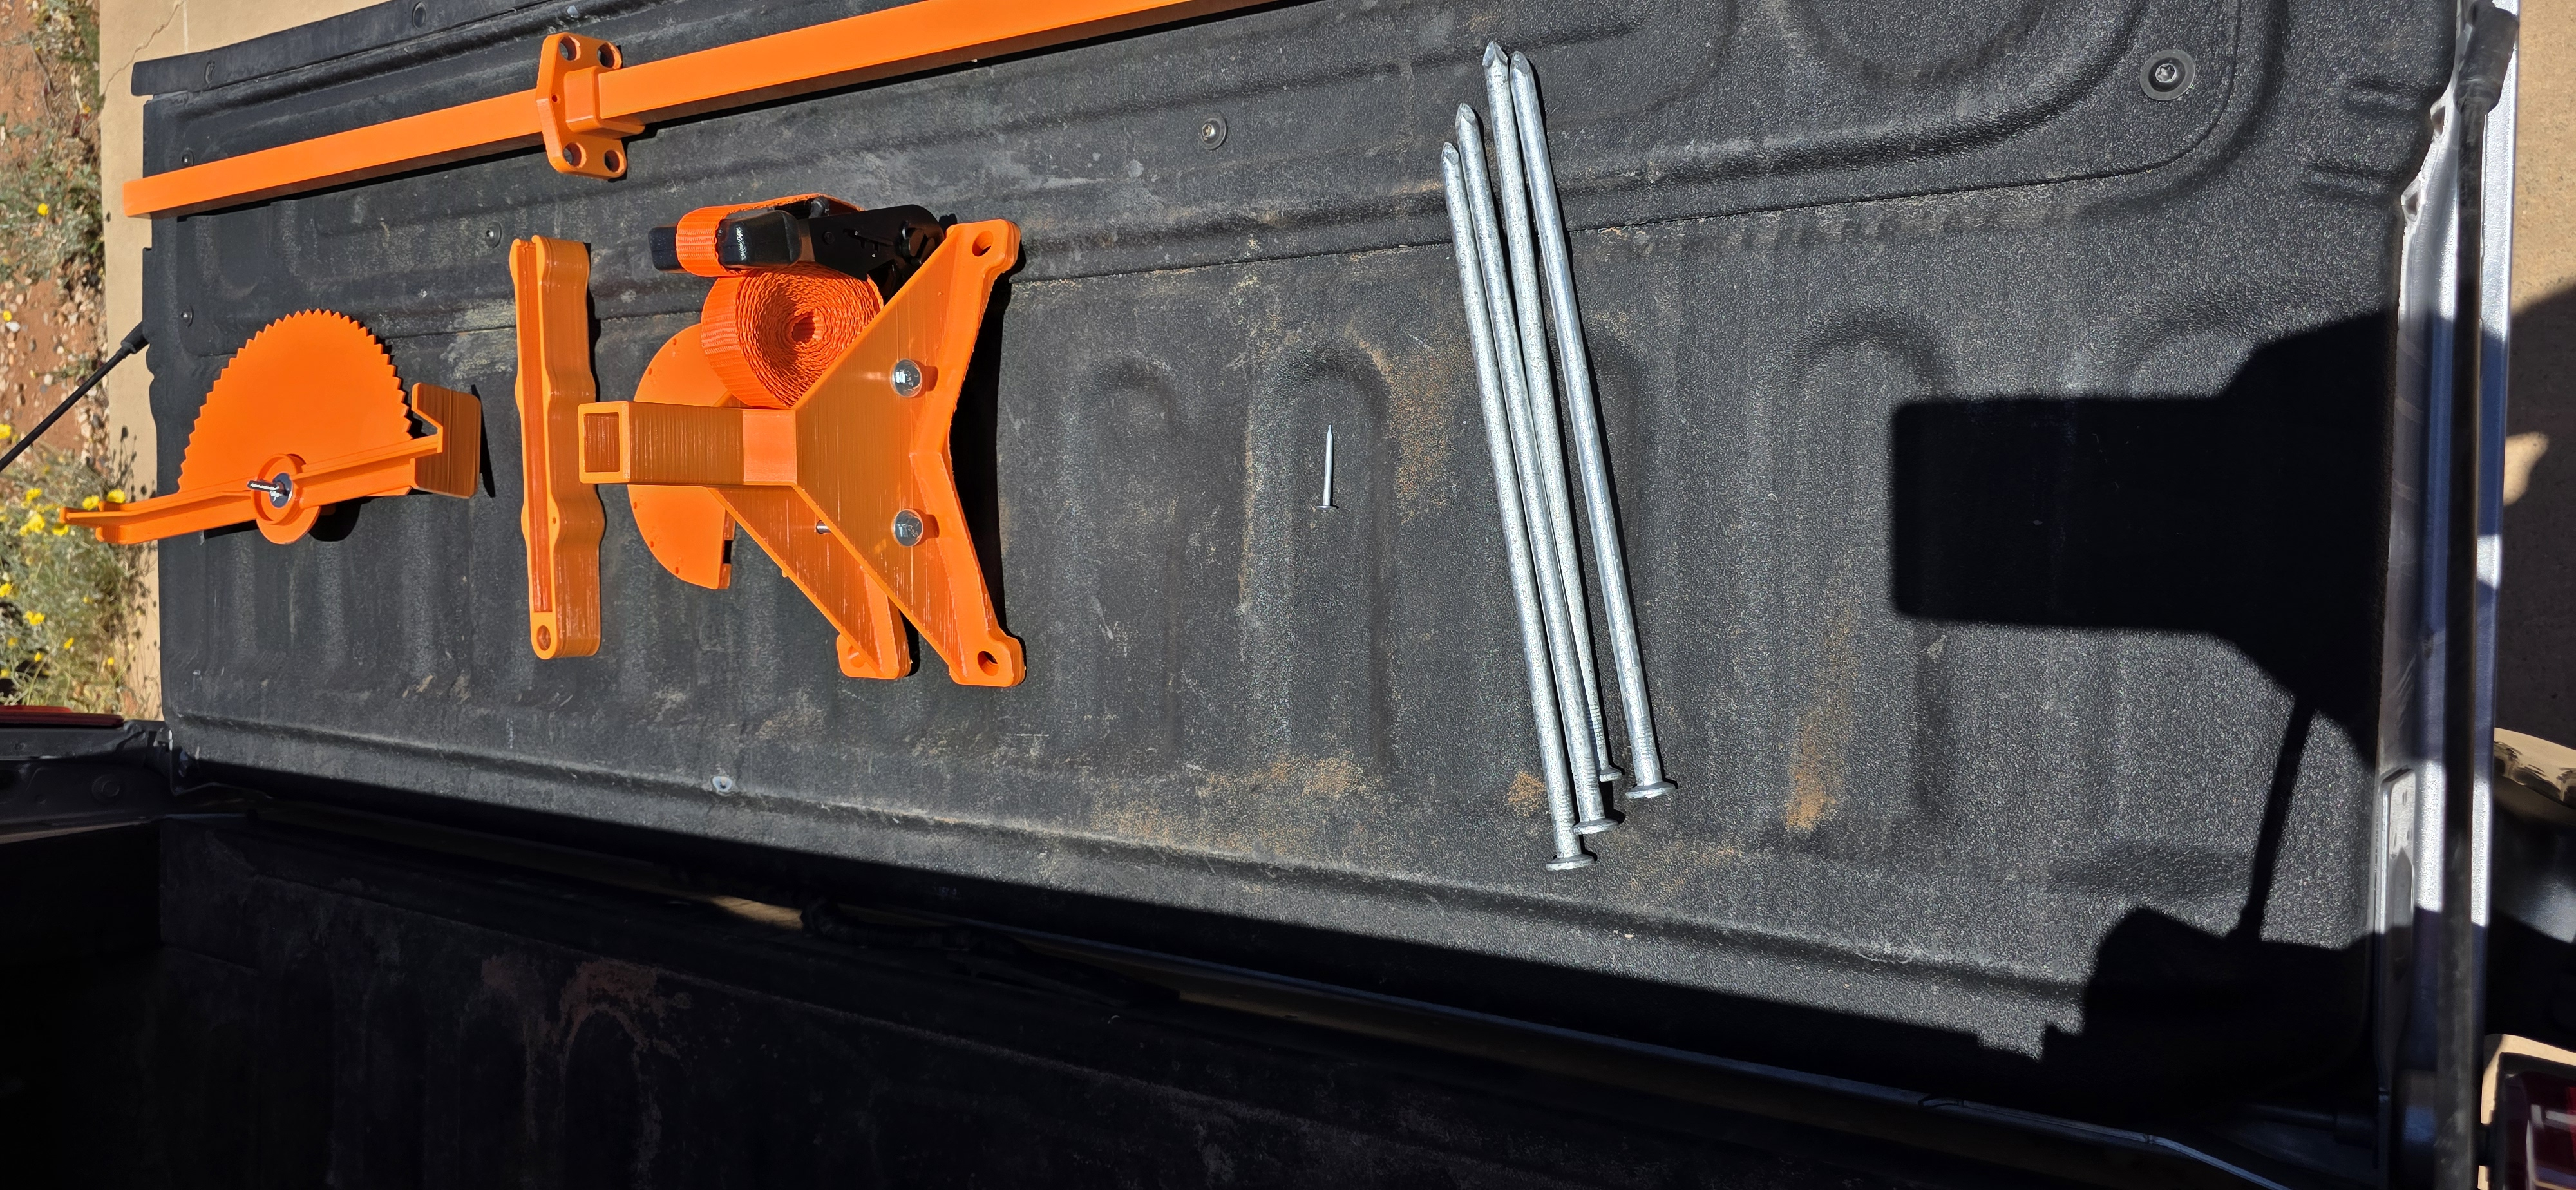
Lay Out All Parts
Lay out all parts on a clean, flat surface before starting. Verify every component is present before assembly begins.
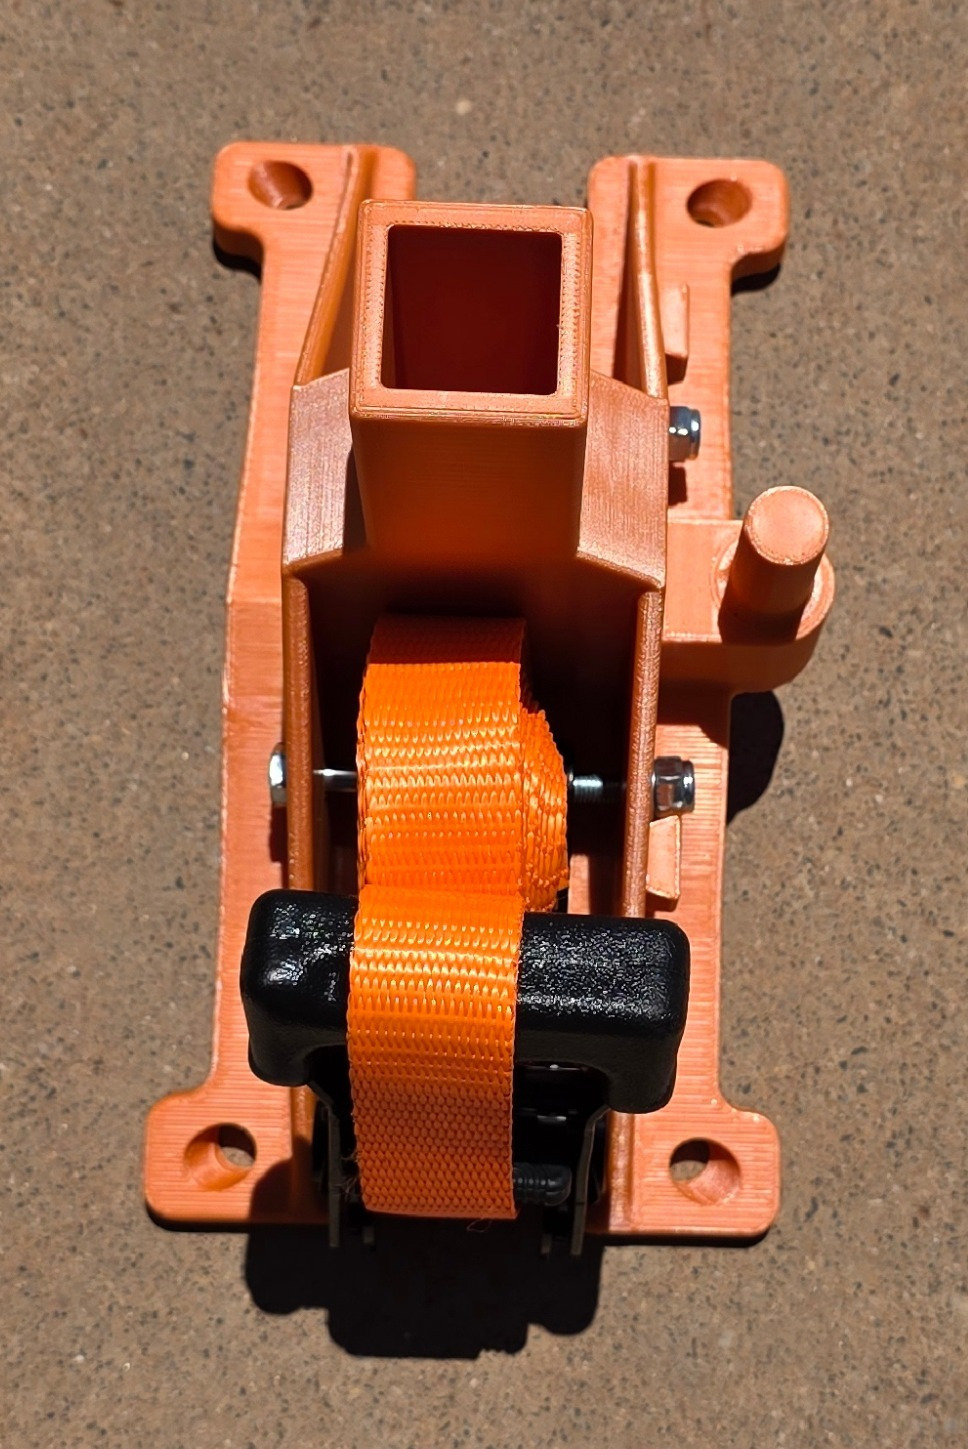
Identify the Base
This is the Base. It sits flat on the ground at the trench edge and anchors the entire unit during operation.
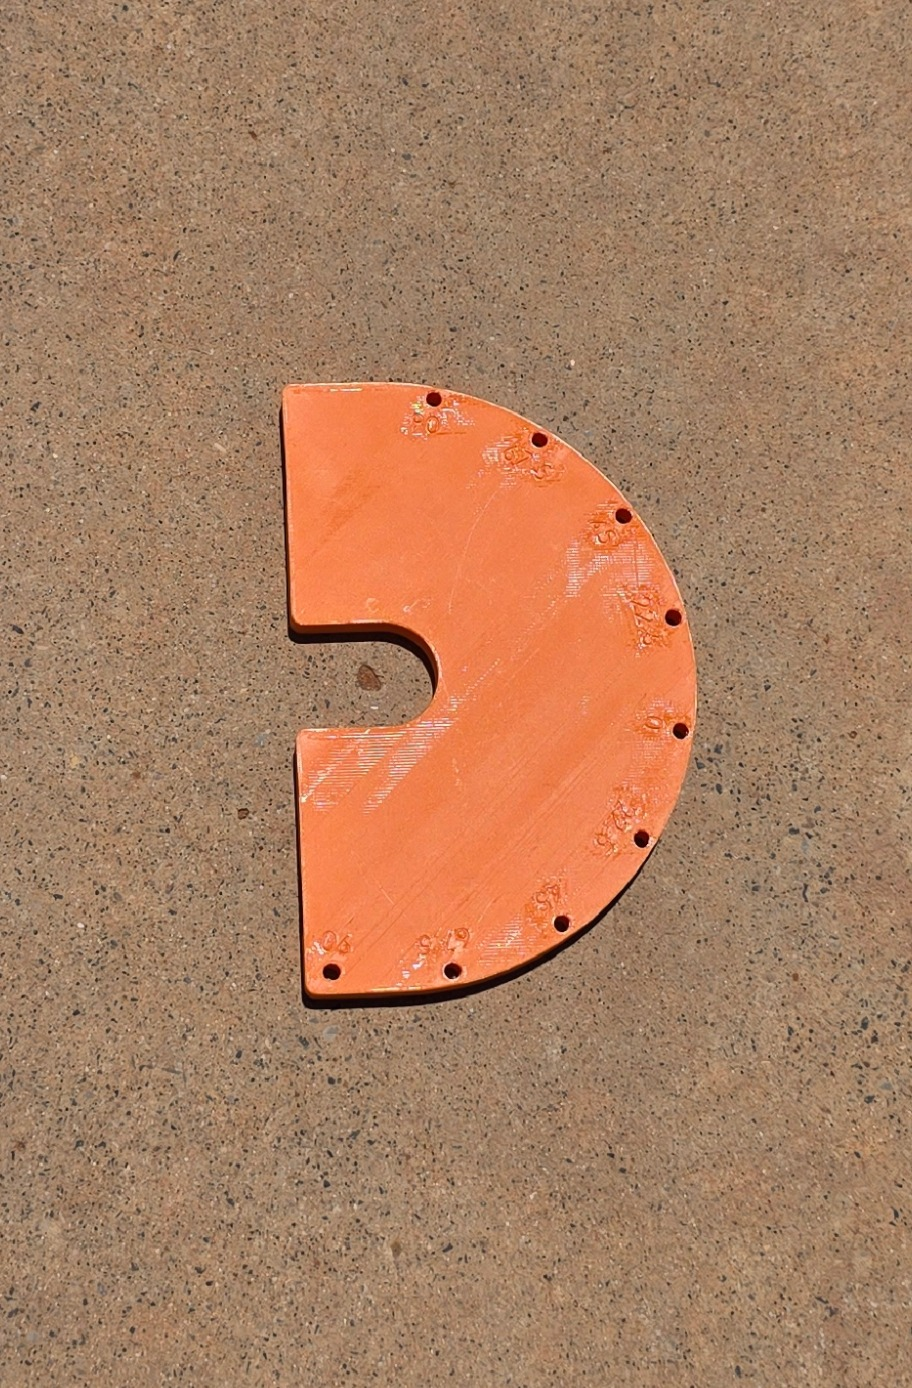
Identify the Laser Compass
This is the Laser Compass. It mounts to the side of the Base and allows precise directional alignment of the laser beam.
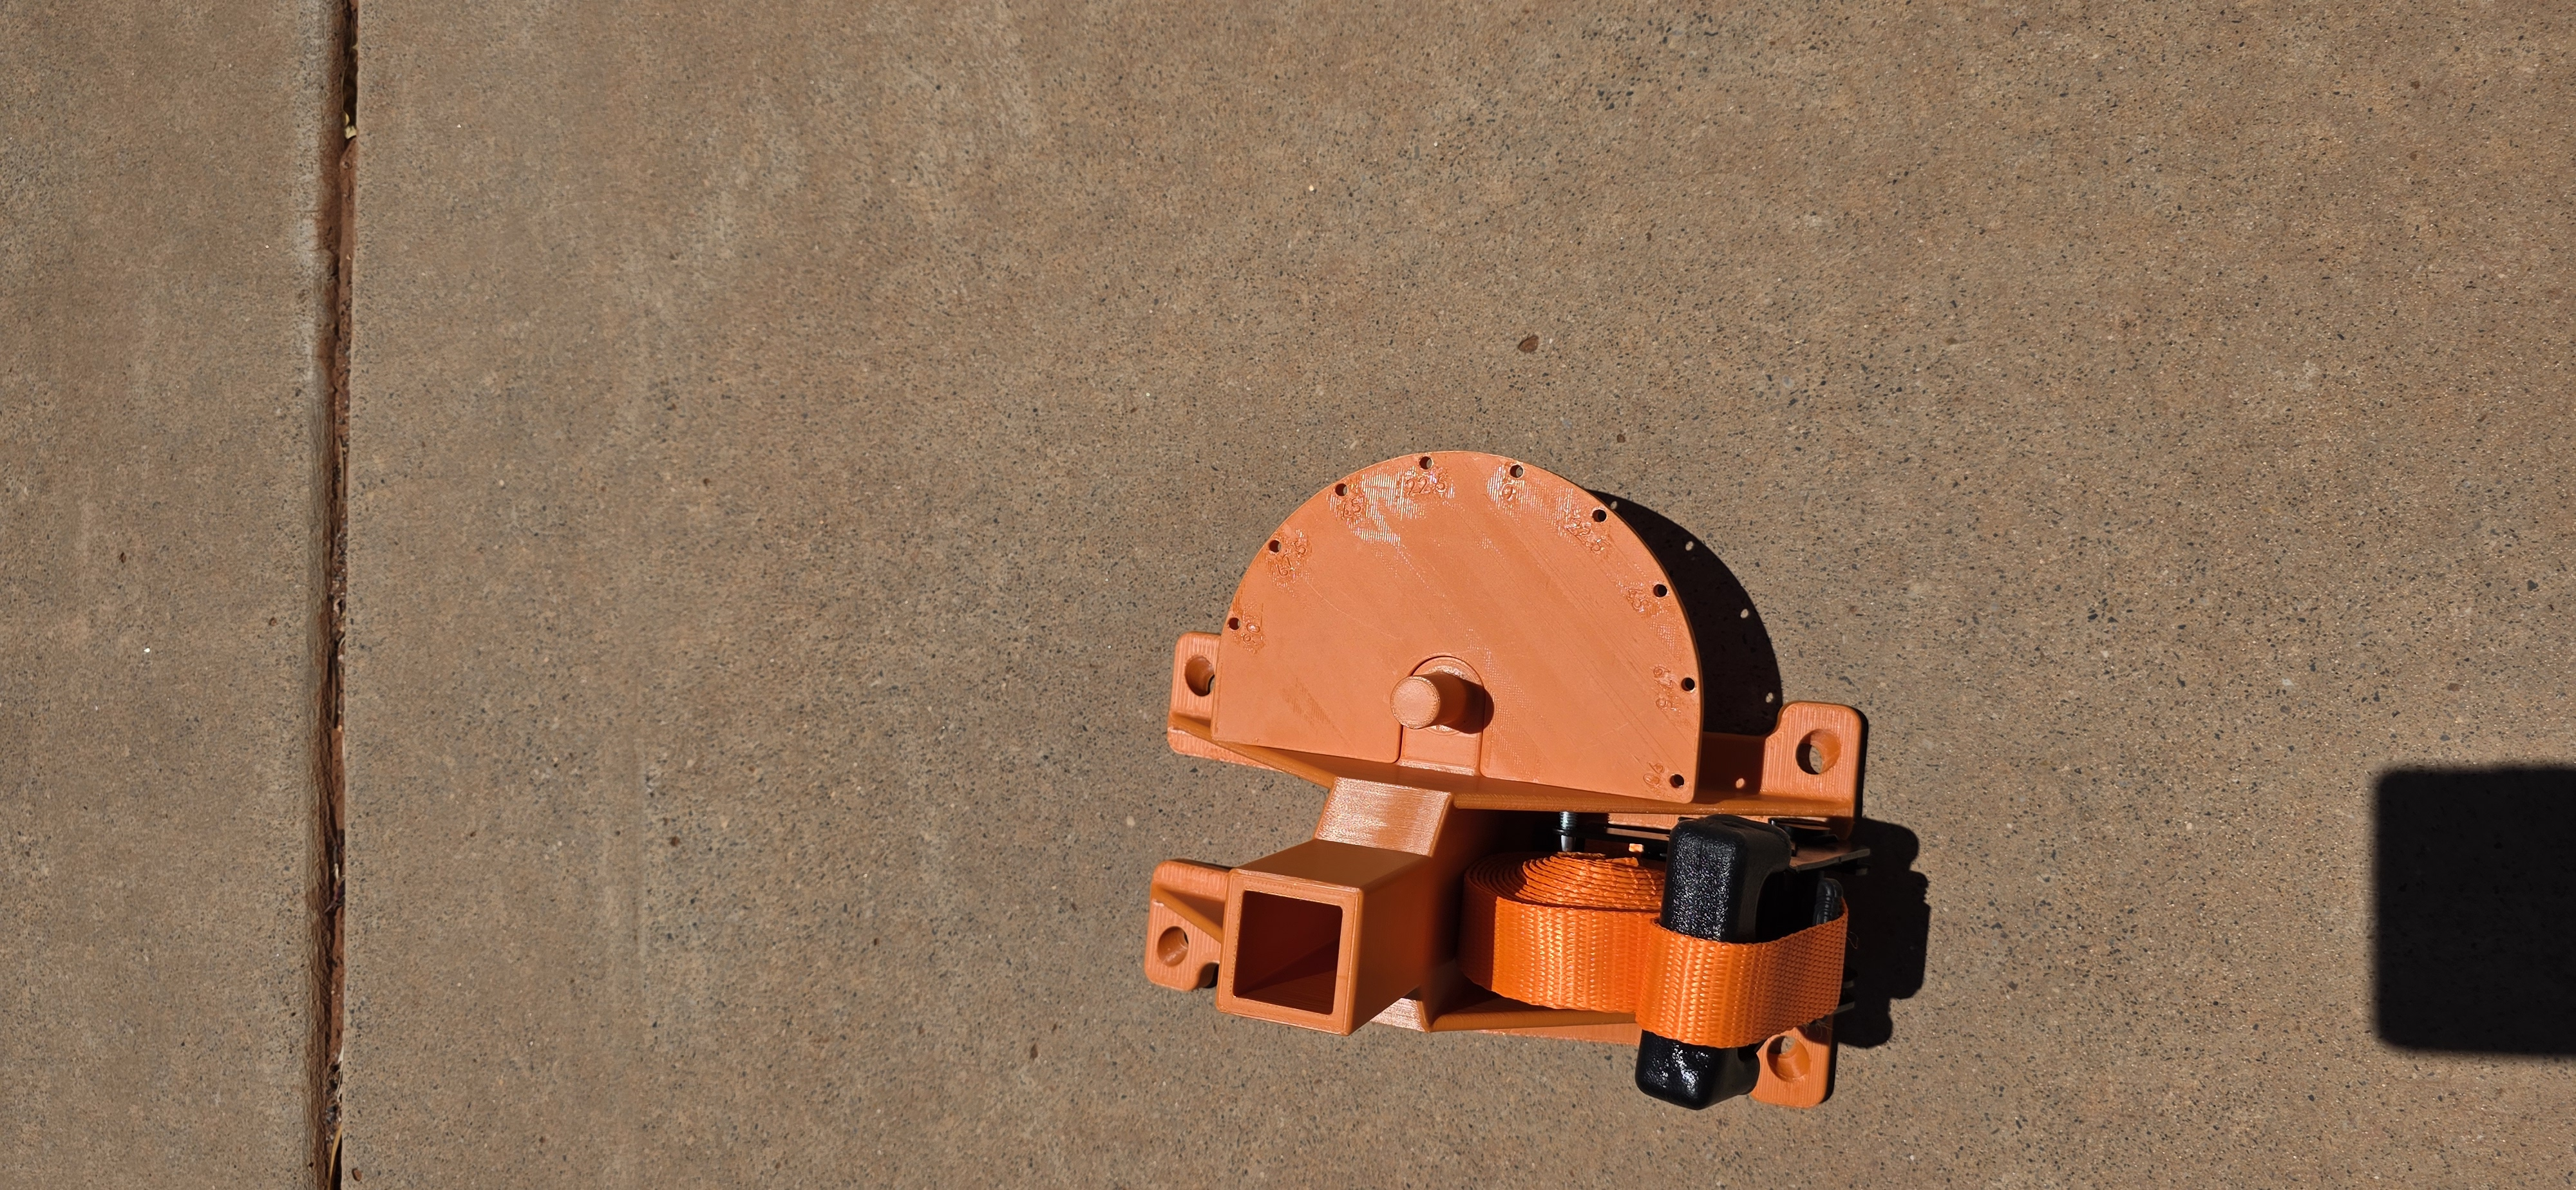
Attach the Laser Compass
Slide the Compass onto the side of the Base. Press firmly until it clicks into place and is fully seated.
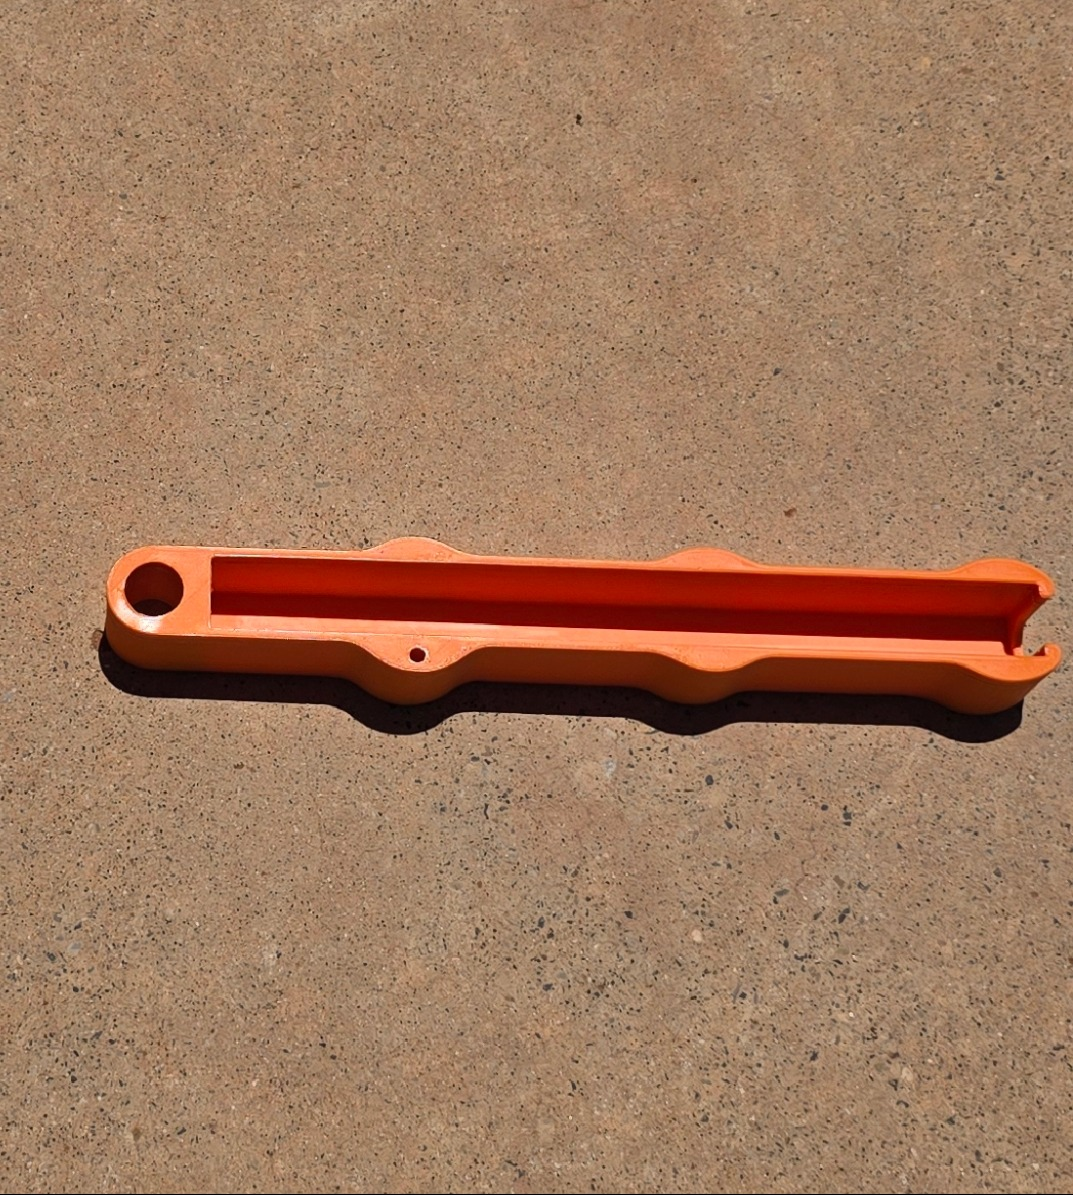
Identify the Laser Tray
This is the Laser Tray. It holds the Laser Level in perfect alignment during operation and prevents lateral shifting.
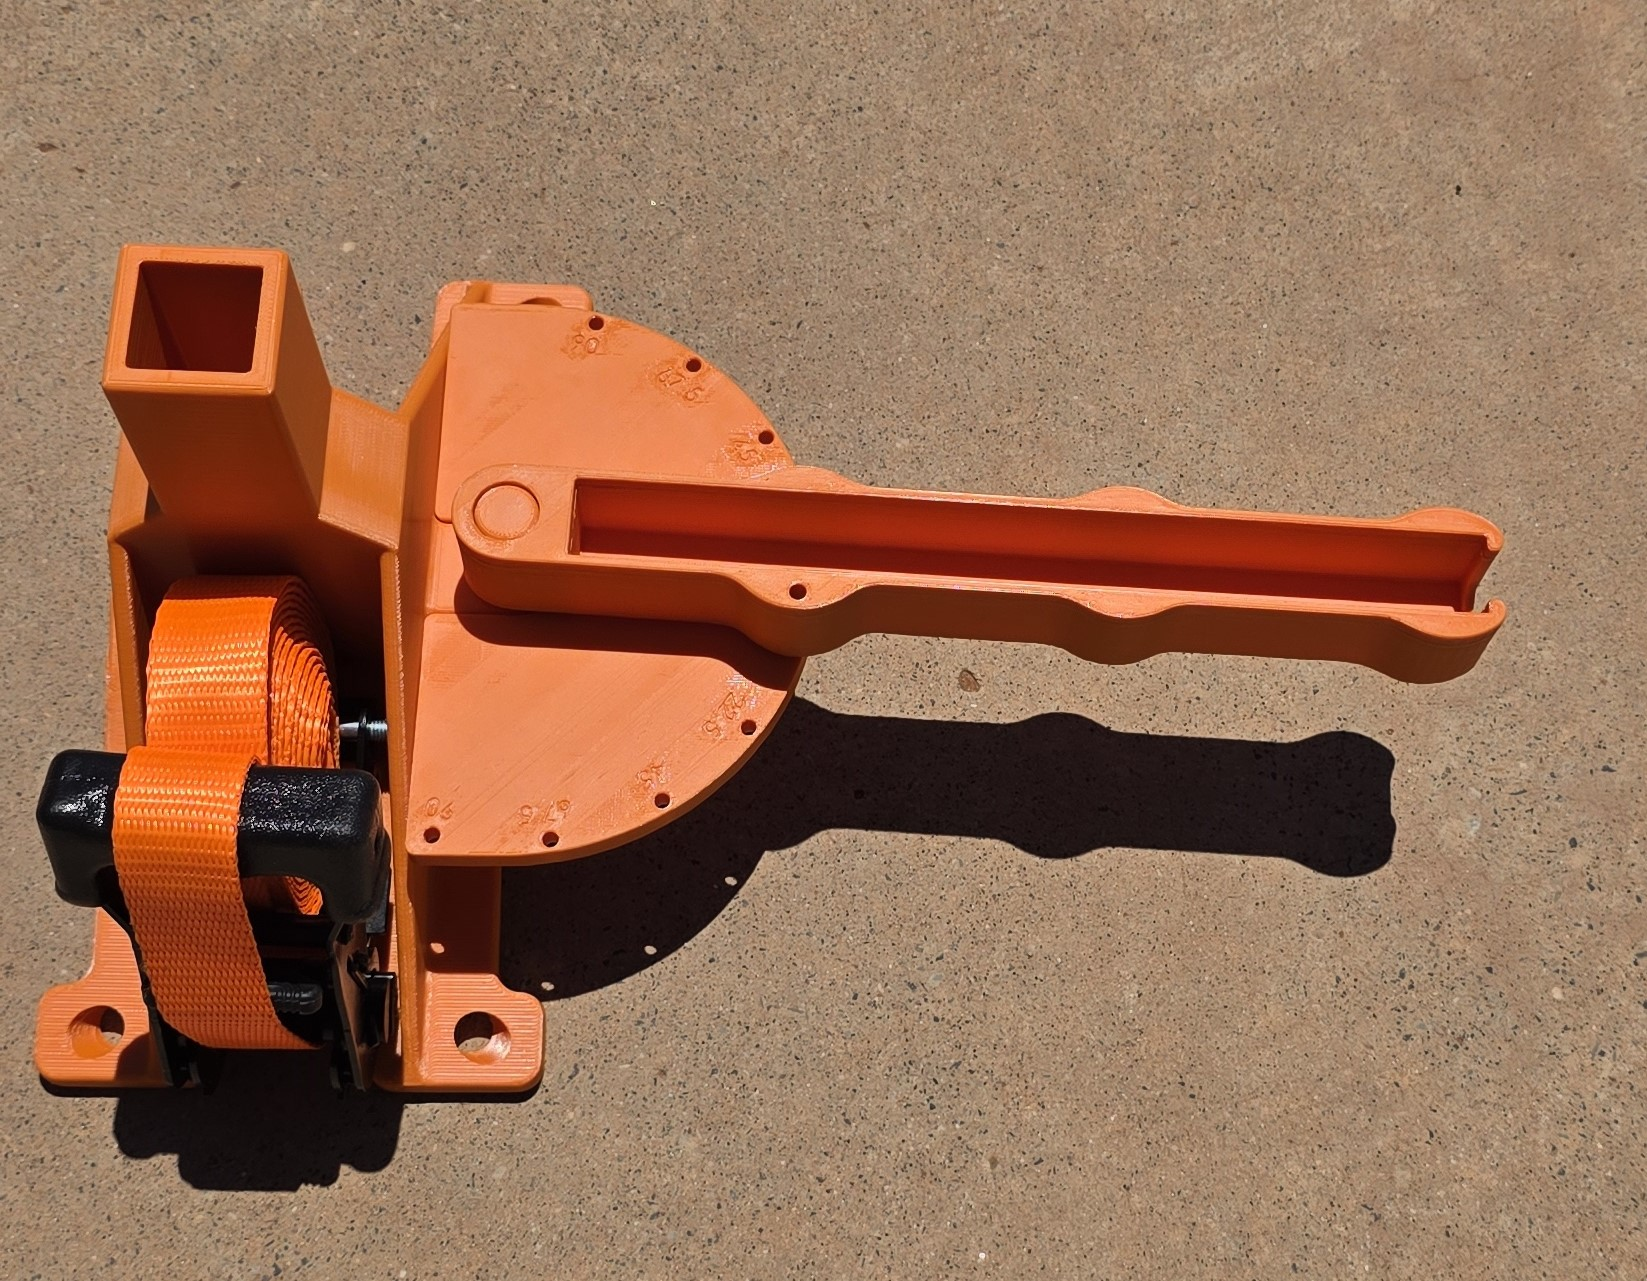
Place the Laser Tray
Place the Tray onto the peg located above the Compass to seat it in position. It should rest level and stable.
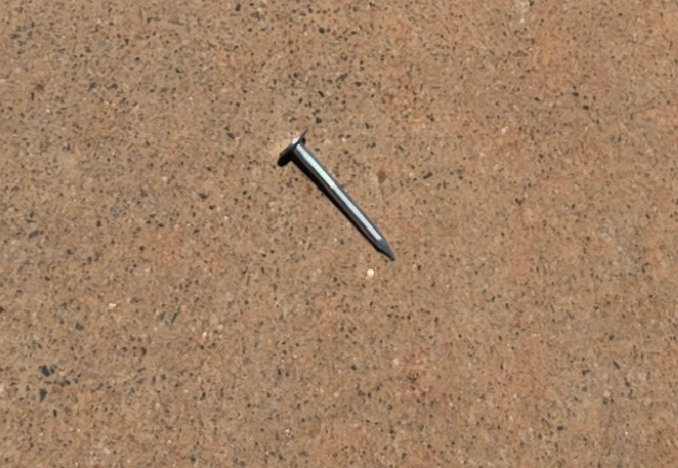
Identify the Tray Pin
This is the Laser Tray Pin. It locks the Tray in alignment so it cannot shift or rotate during use.
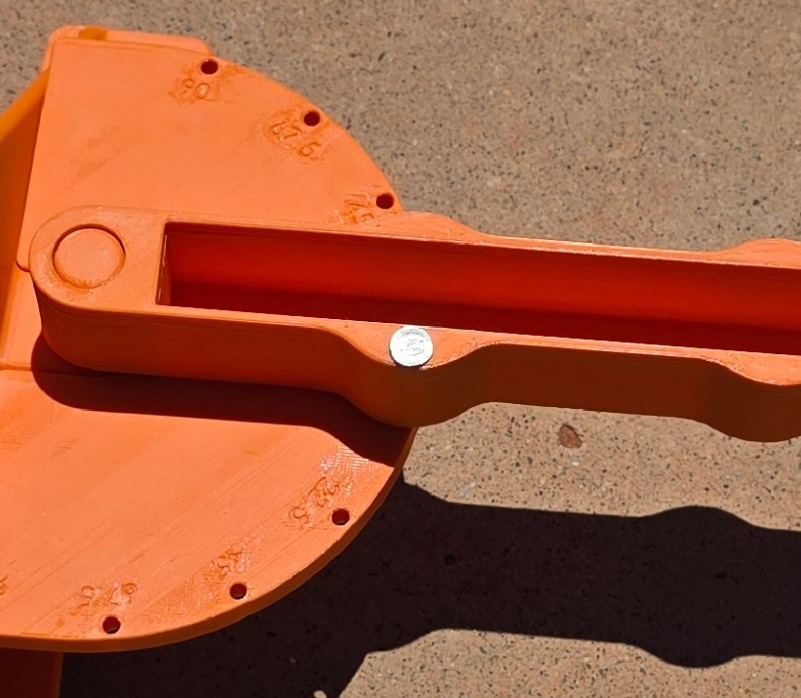
Insert the Tray Pin
Insert the Pin into the hole on the Tray. Push until fully seated — you will feel it stop when it is correctly in place.

Identify the Pole
This is the Trench Pointer Pole. It connects the Base to the Compass and provides the line-of-sight reference for the operator.
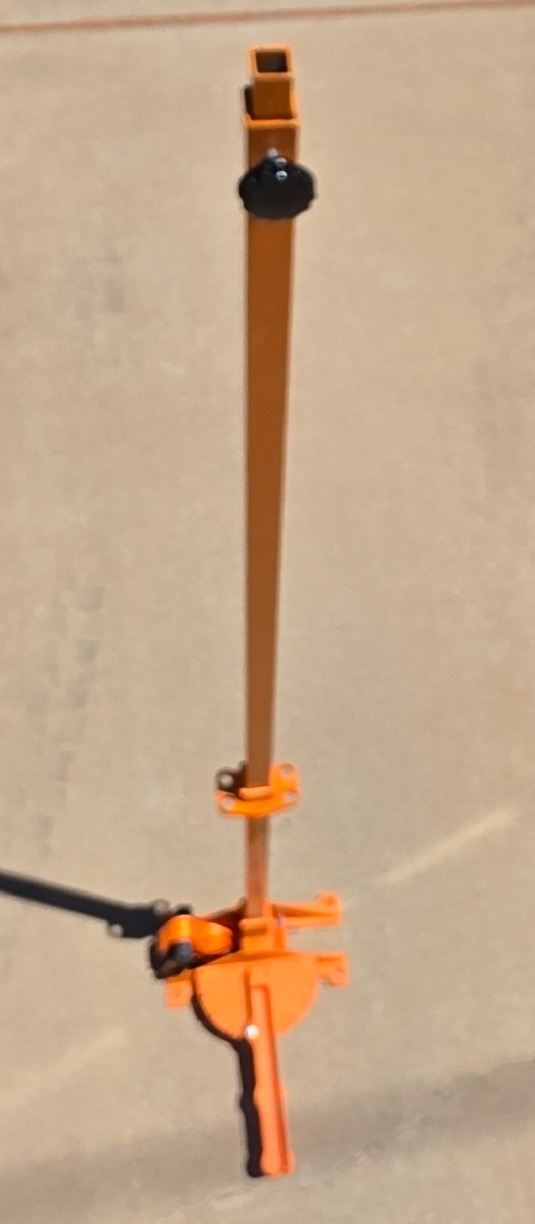
Insert Pole into Base
Insert the bottom of the Pole into the Base receptacle. Press down firmly until the Pole is fully seated and cannot go further.
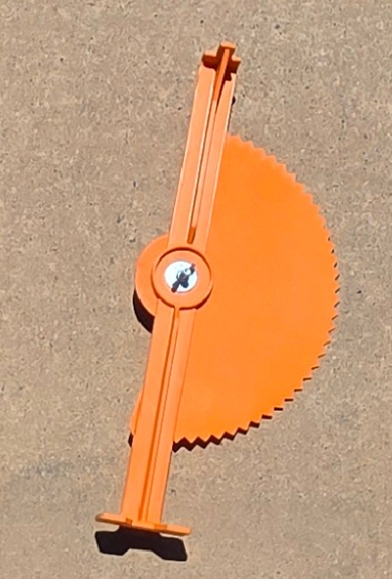
Pointer Sights and Compass
Confirm the Pointer Sights and Compass are correctly oriented — the Compass should face outward from the Base and accept the top of the Pole at the upper opening.
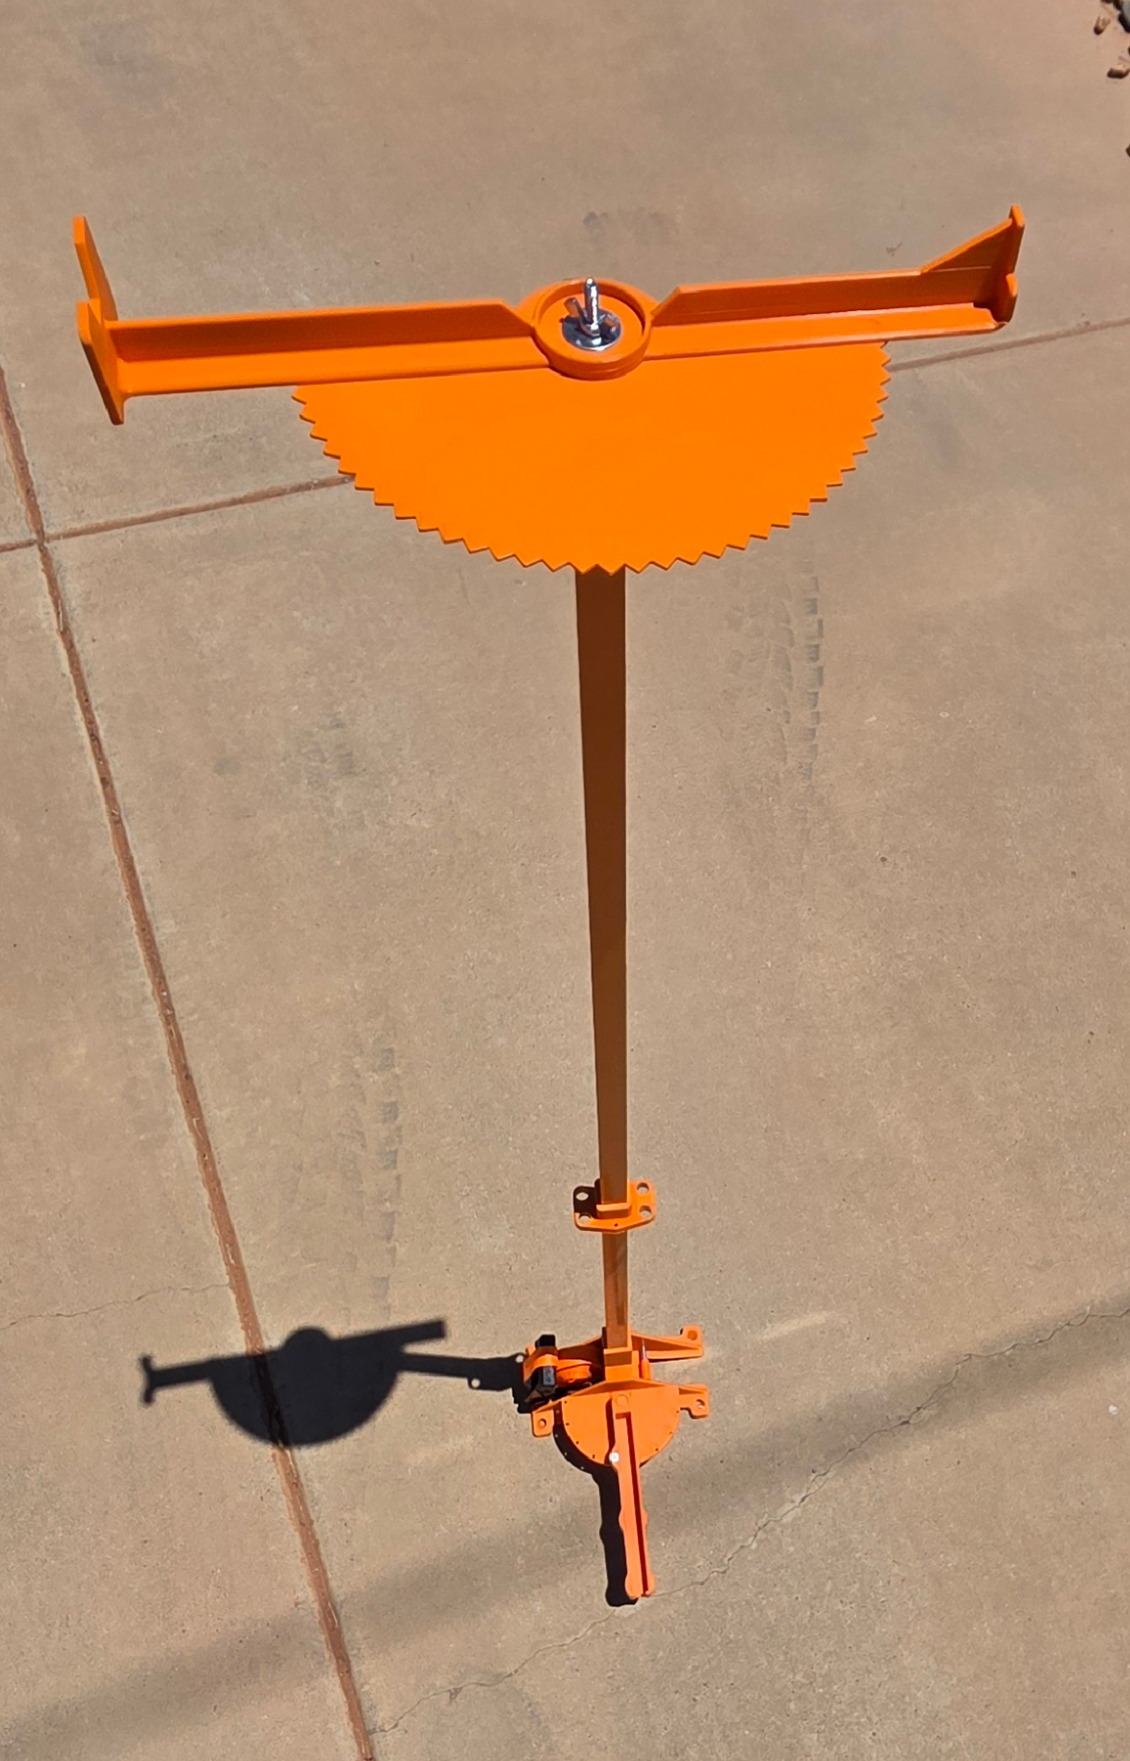
Attach Pole to Compass
Insert the top of the Pole into the Compass opening and secure it firmly. The unit should now stand as a single rigid assembly.
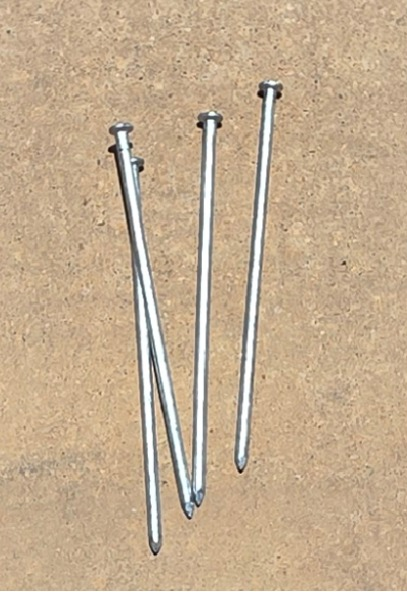
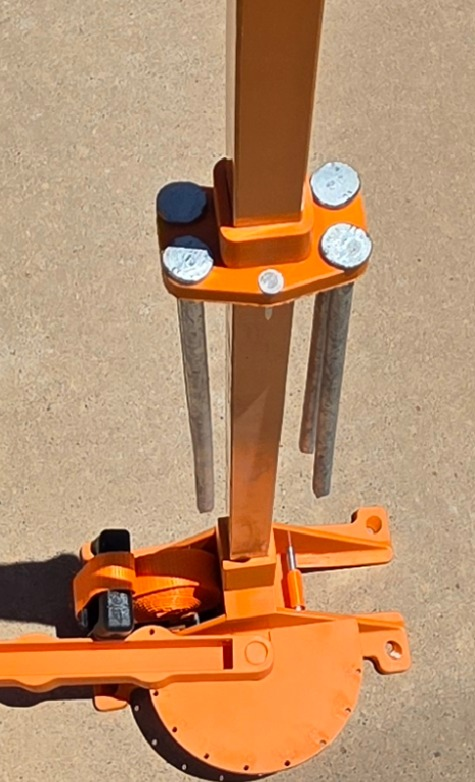
Identify the Stakes
These are the ground Stakes and Stake Holder. Use them to anchor the unit to the ground and prevent drift or movement during excavation.
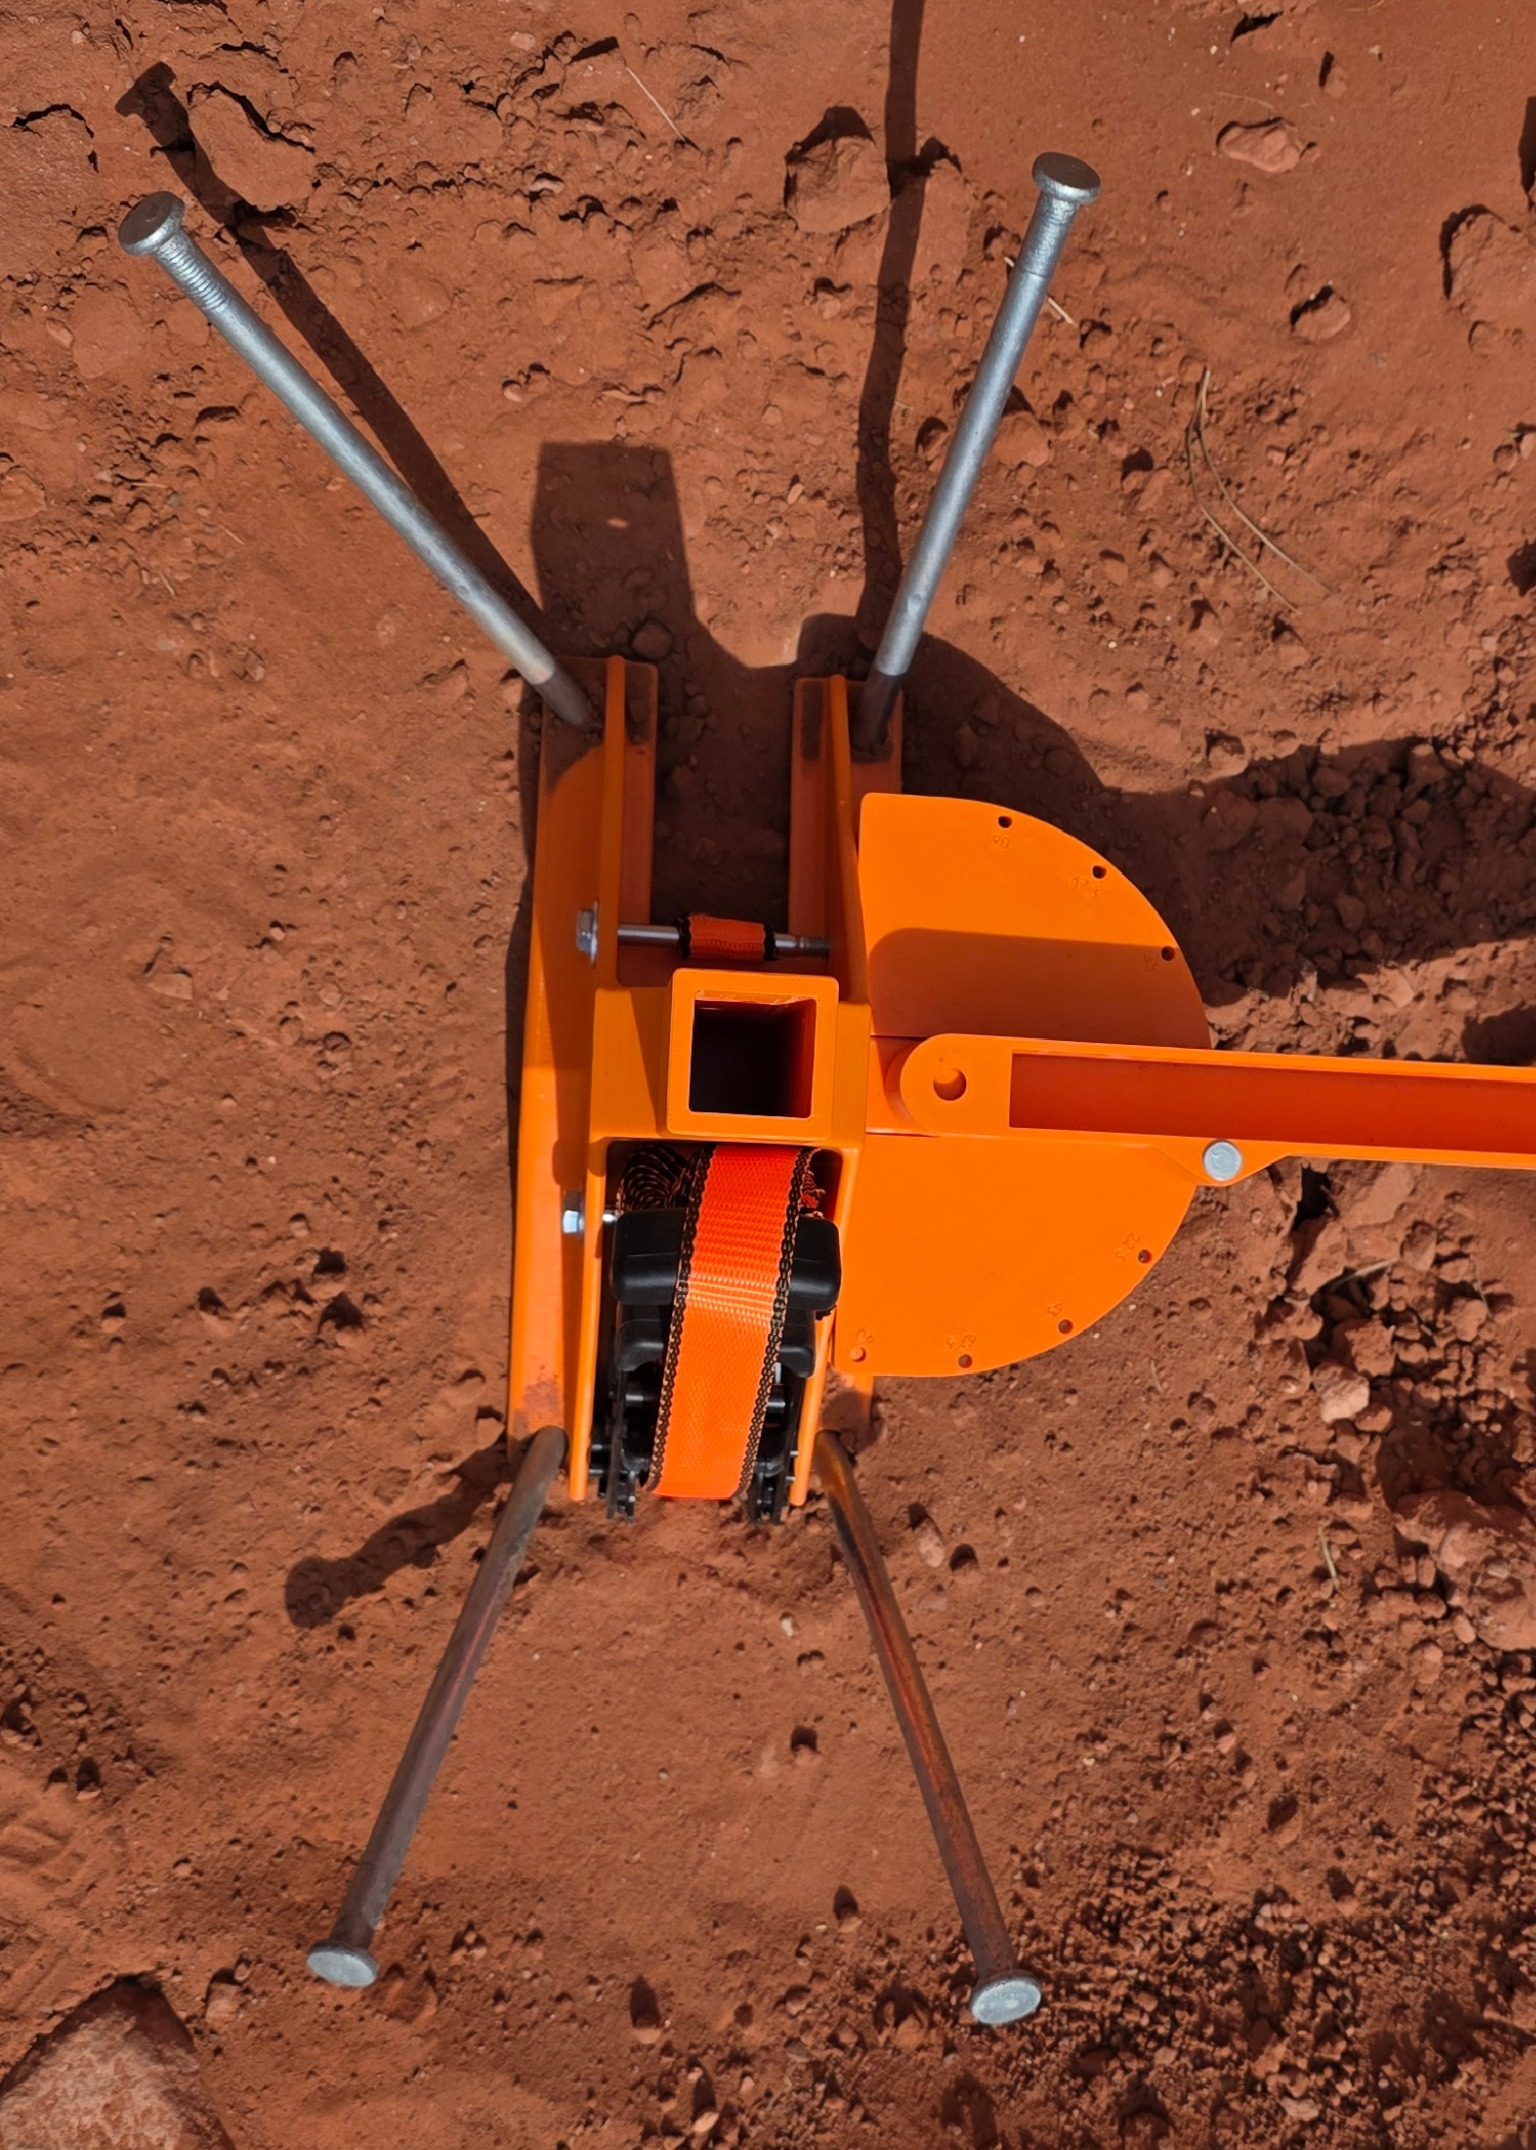
Stake or Strap the Unit
Drive the Stakes through the Base holes to secure to ground. If staking is not possible, strap the unit to a pipe or fixed structure.
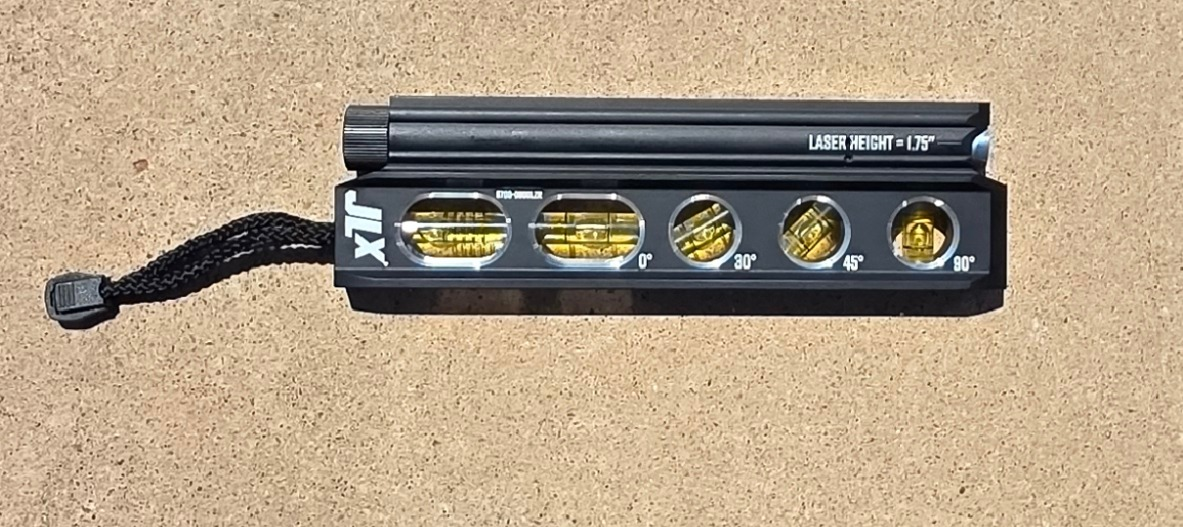
Identify the Laser Level
This is the Laser Level. It generates the 200-ft green laser beam used to guide your excavator operator. Place it into the Laser Tray before powering on.
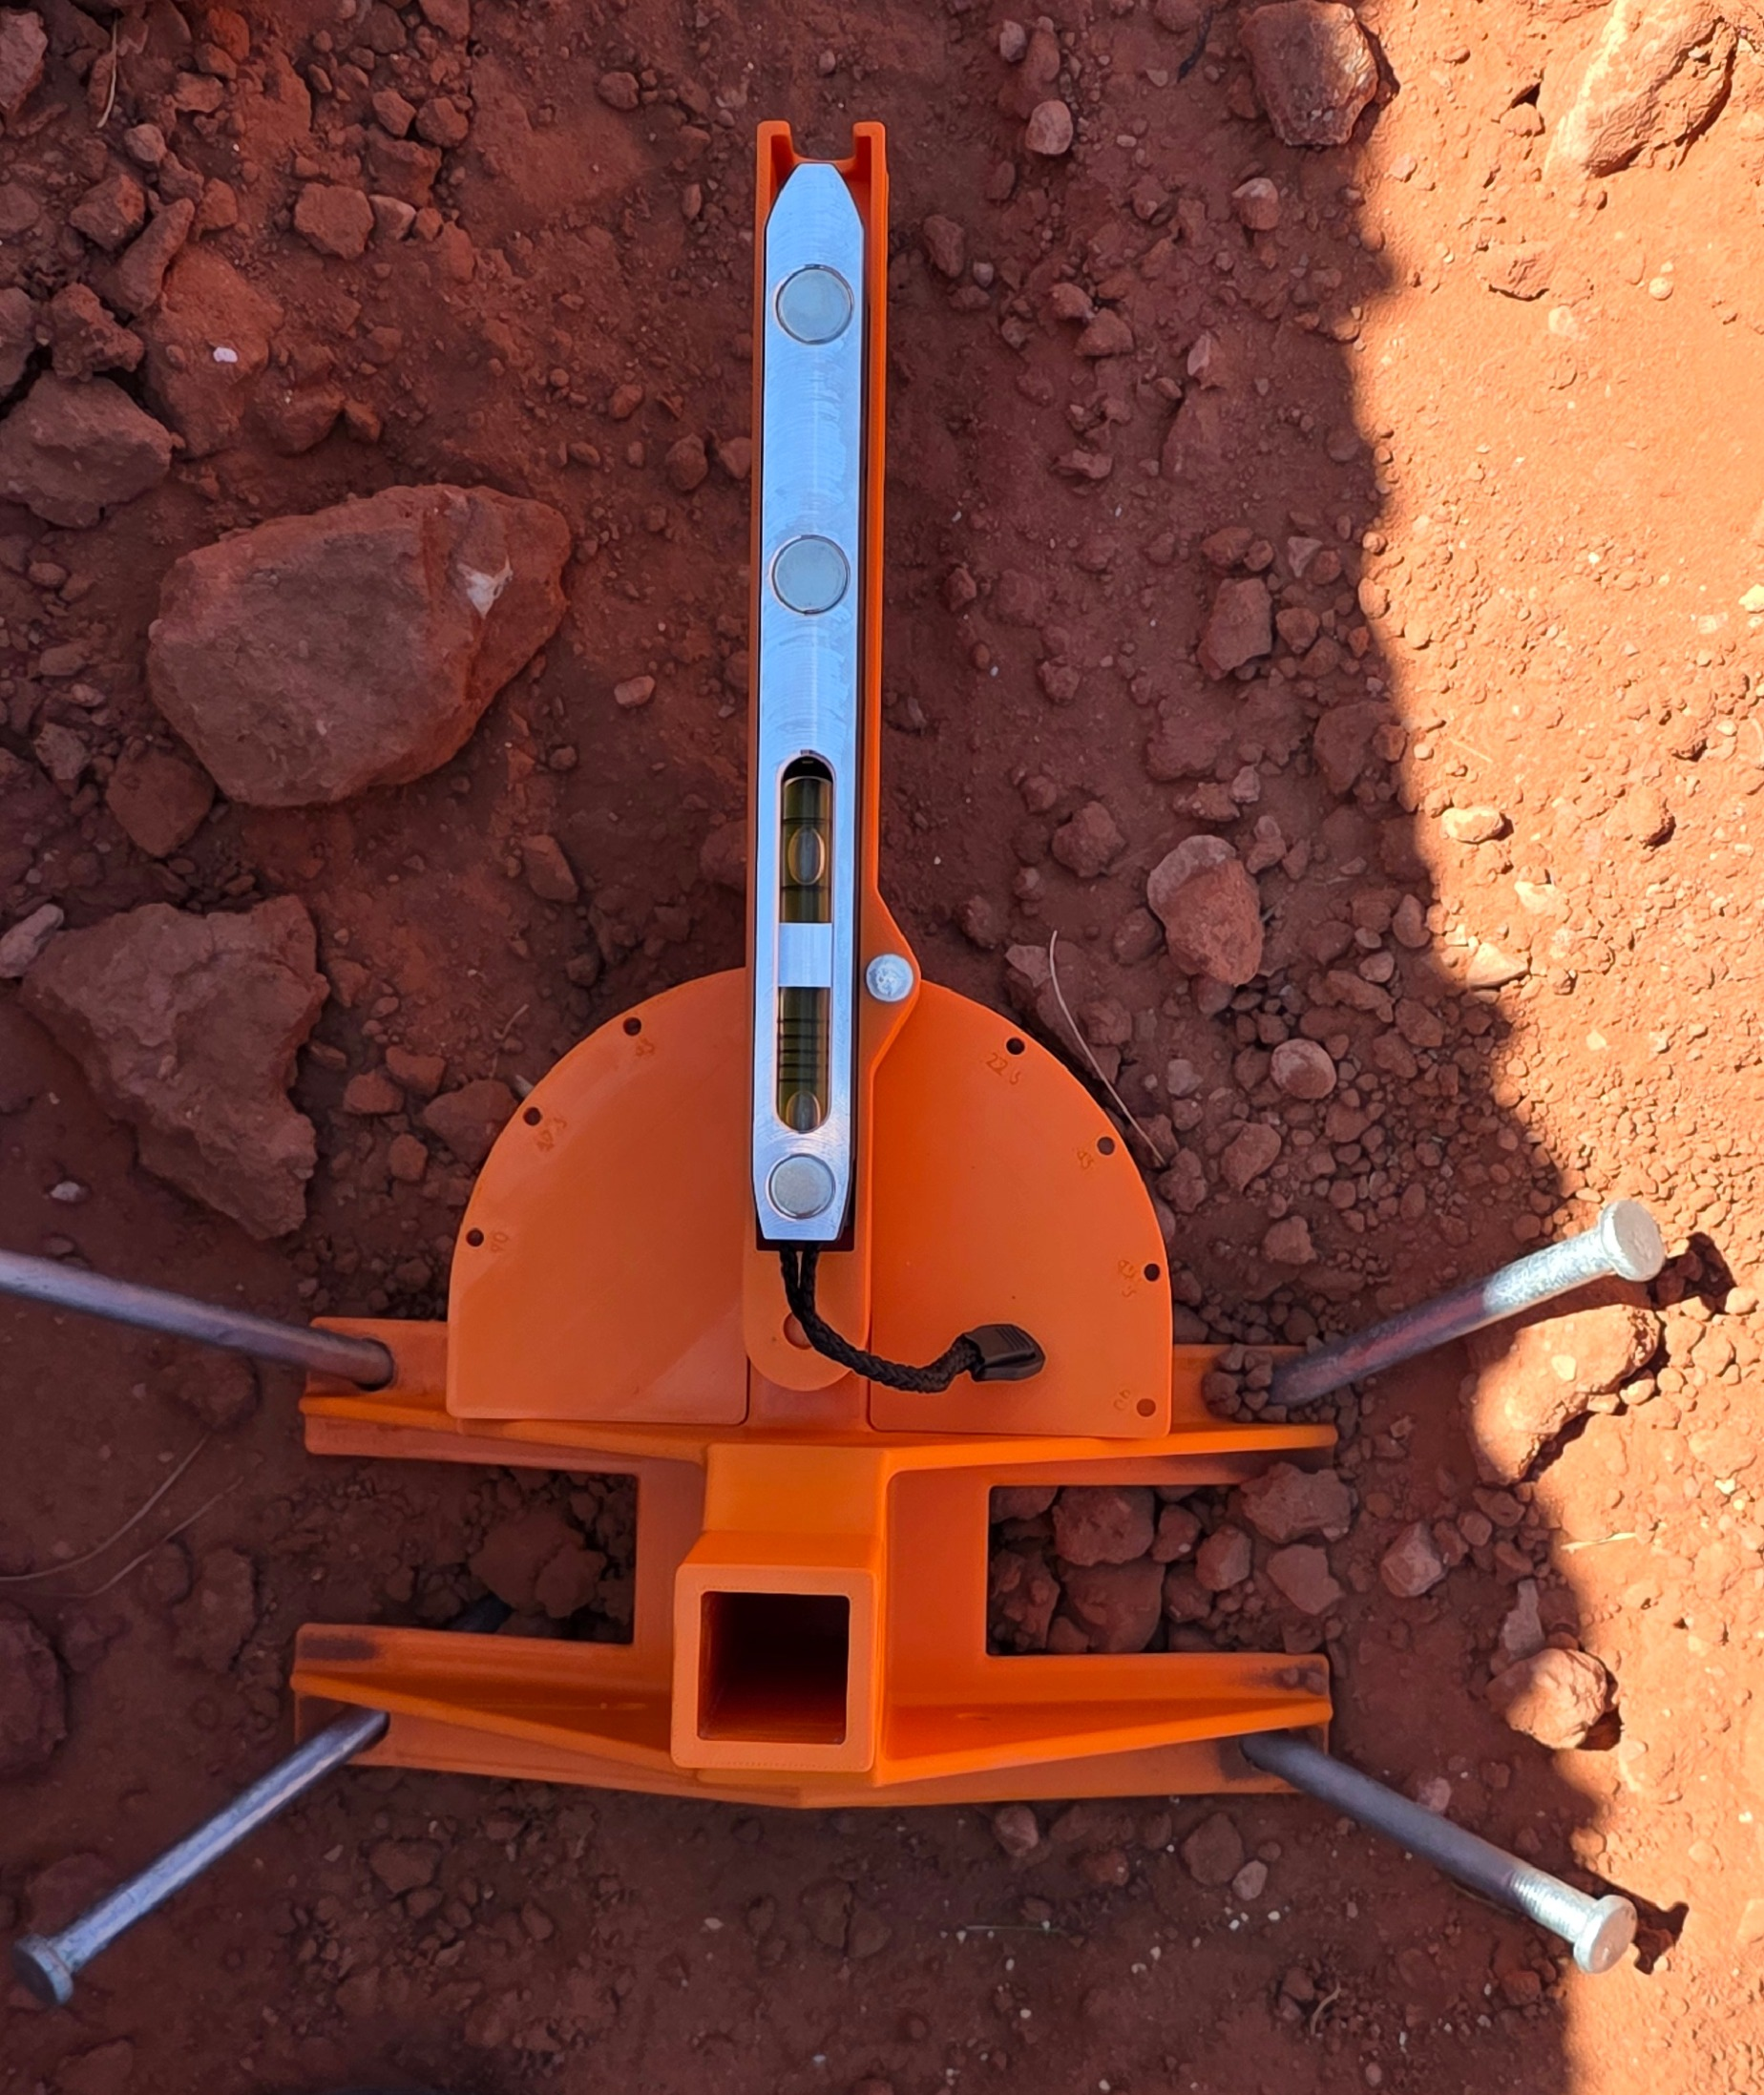
Place Level & Power On
Place the Laser Level into the Tray. Power on the unit and sight along the rifle-style sights to lock in your trench direction. You're ready to dig — straight, every time.